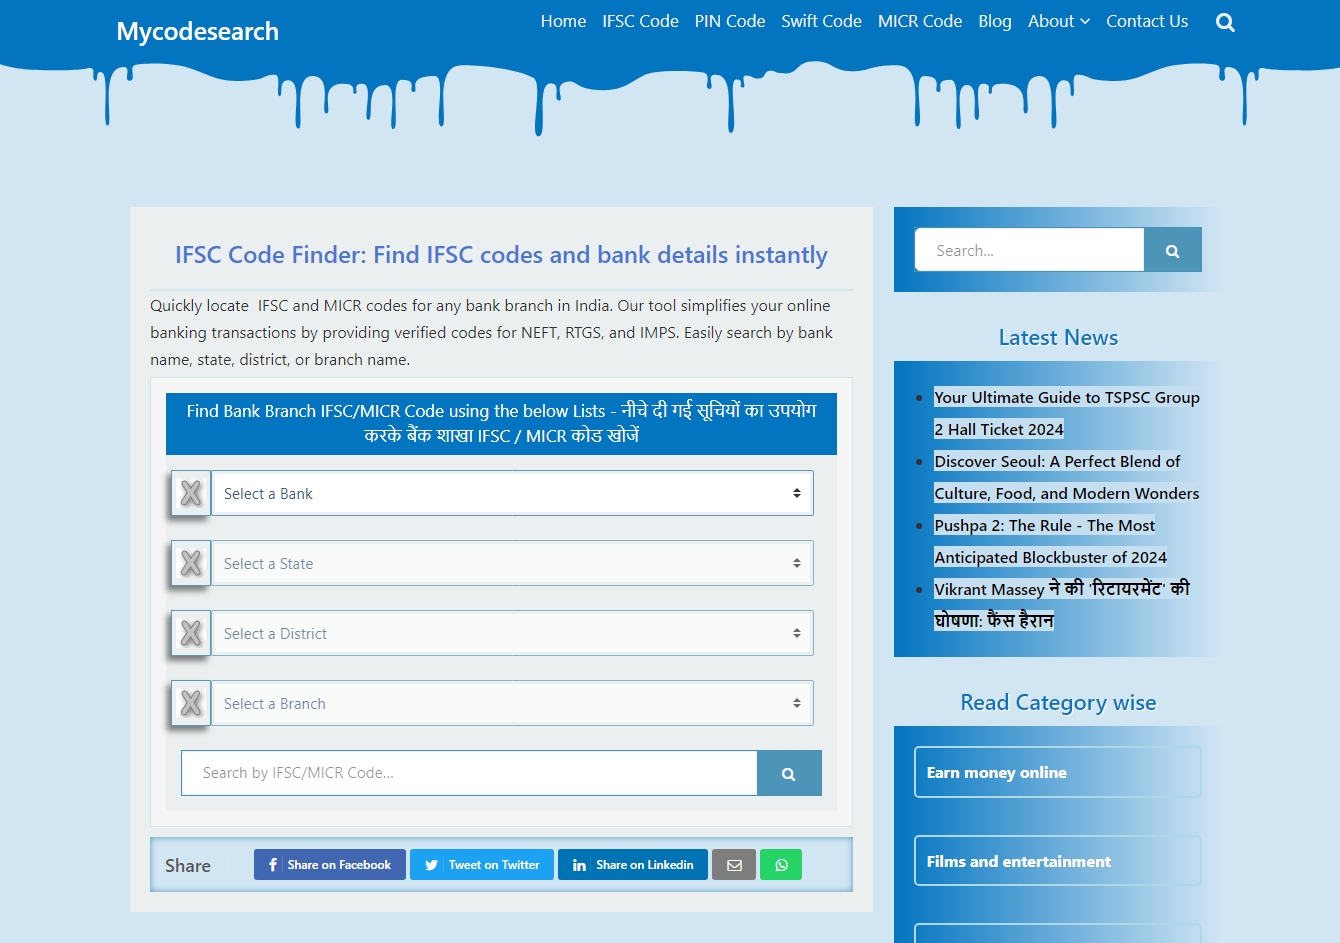
Creating a Banking code finder website, like CodeFinderPro, involves combining efficient search algorithms with a structured database of banking codes such as IFSC, SWIFT, MICR, and more. The core idea is to provide users with an easy and quick way to retrieve these codes. To build such a site, you need to focus on a user-friendly interface, a robust backend system, and accurate data integration. Here’s an outline of the process:
- Set Up the Framework: Choose a reliable hosting service and a tech stack (e.g., PHP and MySQL) suitable for developing dynamic search functionalities.
- Develop the Database: Populate your database with comprehensive and updated banking code information.
- Create Search Modules: Design efficient search algorithms and integrate them with user-friendly input forms.
- Host and Configure: Deploy the site to a hosting server, configure your database connections, and ensure proper functionality.
The following sections provide a detailed guide for deploying a pre-built banking code finder website like CodeFinderPro.
Download Codefineder pro Source Files to create banking code finder website
To get started with CodeFinderPro, ensure you have the source files ready. These files include all the necessary scripts, configurations, and database schema to build the banking code finder website. If you don’t already have them, download the CodeFinderPro source files from laluji shop or contact the development team for access.
Looking for reliable and affordable hosting for your CodeFinderPro website? Contact us on WhatsApp . Our hosting plans are tailored to meet your needs while keeping costs low. Get started today!
Step 1: Upload Files to cPanel

- Log in to cPanel:
- Access your cPanel dashboard by navigating to
yourdomain.com/cpanel.
- Access your cPanel dashboard by navigating to
- Open the File Manager:
- Locate the File Manager icon on the dashboard and click on it.
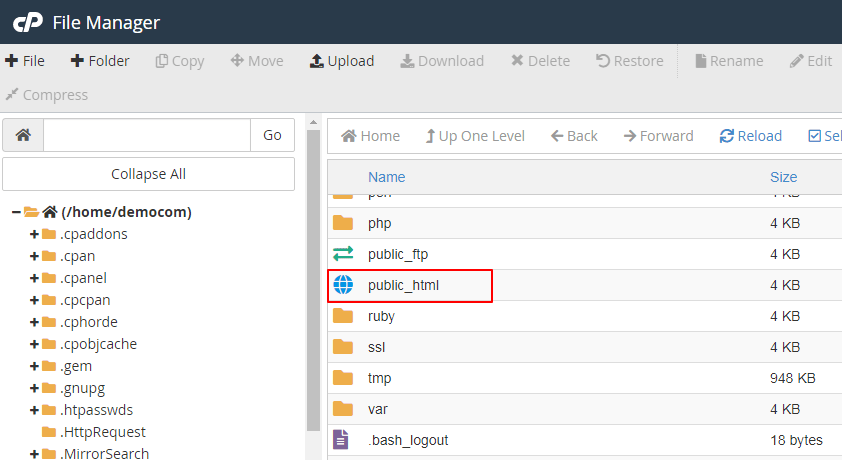
- Navigate to the root directory where you want the site to be hosted. Typically, this is the
public_htmlfolder.
- Upload the Files:
- In the File Manager, click the Upload button.
- Select all files from the extracted CodeFinderPro folder. If the folder includes a
.htaccessfile, ensure you enable the display of hidden files and upload it too.
- Extract ZIP (Optional):
- If you’re uploading the ZIP file directly, upload it first, then use the Extract option in cPanel’s File Manager to extract the contents.
Step 2: Set Up the Database

- Create a New Database:
- Go to MySQL Databases in cPanel.
- Create a new database (e.g.,
codefinder_db). - Create a new database user (e.g.,
codefinder_user) and assign it a strong password. - Grant all privileges to the user for the database.
- Import the Database Structure:
- If the project contains an SQL file (such as
database.sql), open phpMyAdmin in cPanel. - Select the database you created, go to the Import tab, and upload the SQL file. Click Go to import the data.
- If the project contains an SQL file (such as
Step 3: Configure the Application

- Locate the Configuration File:
- Open the extracted CodeFinderPro folder and look for a configuration file. Common file names are
config.php,db.php, or a section withinindex.php.
- Open the extracted CodeFinderPro folder and look for a configuration file. Common file names are
- Edit the Configuration File:
- Use the File Manager’s editor to open the configuration file.
- Update the following details with your database information:
$db_host = 'localhost';  // Usually "localhost"
$db_user = 'codefinder_user';  // Your database username
$db_pass = 'your_password';  // Your database password
$db_name = 'codefinder_db';  // Your database name
- Save Changes:
- Ensure you save the file after making changes.
Step 4: Test the Website
- Visit Your Website:
- Open a browser and navigate to your domain (e.g.,
https://yourdomain.com).
- Open a browser and navigate to your domain (e.g.,
- Troubleshoot Errors:
- If you encounter any issues, check the following:
- Error Logs: Use the cPanel Error Logs section to identify issues.
- Permissions: Ensure all necessary files have appropriate permissions (typically
644for files and755for folders). - Database Connection: Double-check the database credentials in the configuration file.
- If you encounter any issues, check the following:


Leave a Comment
Your email address will not be published. Required fields are marked *